Using Storytelling in Photography

Photography is more than just capturing a moment in time. It’s about creating an emotional connection with the viewer and telling a story through the lens of a camera. This is why storytelling in photography is so important. Whether you’re a professional photographer or an amateur hobbyist, incorporating storytelling into your photos will take your images to the next level. Here’s how you can use storytelling in photography to create powerful, impactful images.

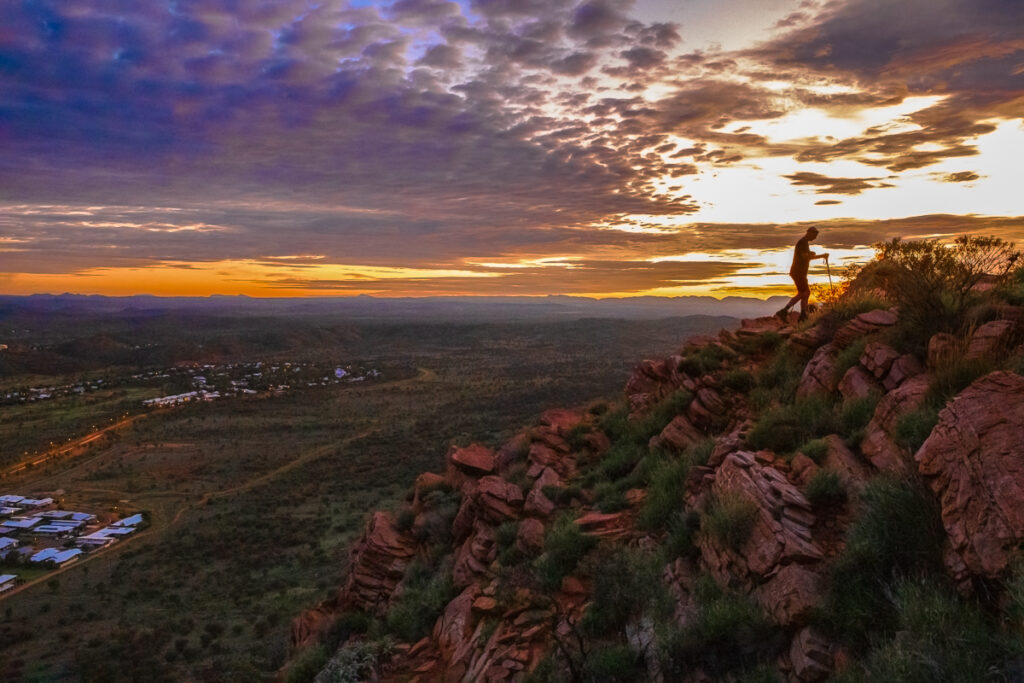
Sunrise Hiker Walking Up Mount Johns at Alice Springs
  1. Identify the Story You Want to Tell

The first step in incorporating storytelling into your photography is to identify the story you want to tell. This could be a personal story, a fictional story, or a factual story. The key is to think about what you want to convey through your photos. For example, you may want to tell a story about family, nature, or a particular event. Once you have a clear idea of the story you want to tell, you can begin to think about how you want to tell it.


  1. Use Composition to Tell Your Story

Composition is one of the most important elements of photography. It’s what helps you to create the visual elements that make up the story in your photos. You can use different techniques such as the rule of thirds, leading lines, and framing to help you create a visual story. For example, you could use a photo of a path leading into the distance to symbolize a journey or a series of photos to show a change over time.

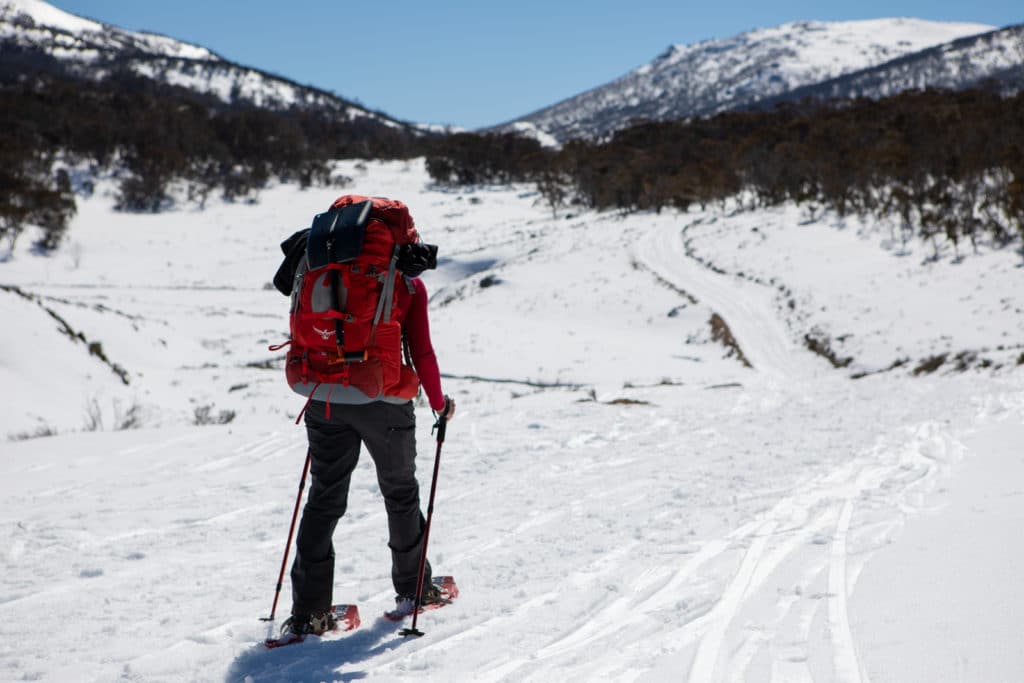
Snow Hiking
Snow Hiking
  1. Utilize Light and Shadows to Enhance Your Story

Light and shadow are two powerful elements in photography. They can be used to create mood and atmosphere in your photos, helping to reinforce the story you want to tell. For example, you could use light to create a sense of hope or shadow to create a sense of mystery. By playing with light and shadow, you can take your photos from simply capturing a moment in time to telling a story that captivates the viewer.

Using lights and shadows to tell a story in your photos
  1. Use Color to Emphasize Your Story

Color is another important element in photography. By using color to your advantage, you can create a visual story that evokes emotions in the viewer. For example, you could use warm colors such as red, yellow, and orange to create a feeling of warmth and comfort, or cool colors such as blue and green to create a feeling of calm and serenity.

  1. Include People and Objects That Help to Tell Your Story

People and objects play an important role in storytelling in photography. They can be used to create a visual story and reinforce the message you want to convey. For example, you could use a photo of a person to represent a particular emotion, or use a specific object to symbolize a particular idea.

In conclusion, storytelling in photography is an important tool that can help you to create powerful, impactful images. By combining different elements such as composition, light and shadow, color, and people and objects, you can create a visual story that will captivate your viewers and leave a lasting impression. So next time you pick up your camera, think about the story you want to tell, and let your images do the talking.

Behind-the-scenes of the rooftop pool shoot

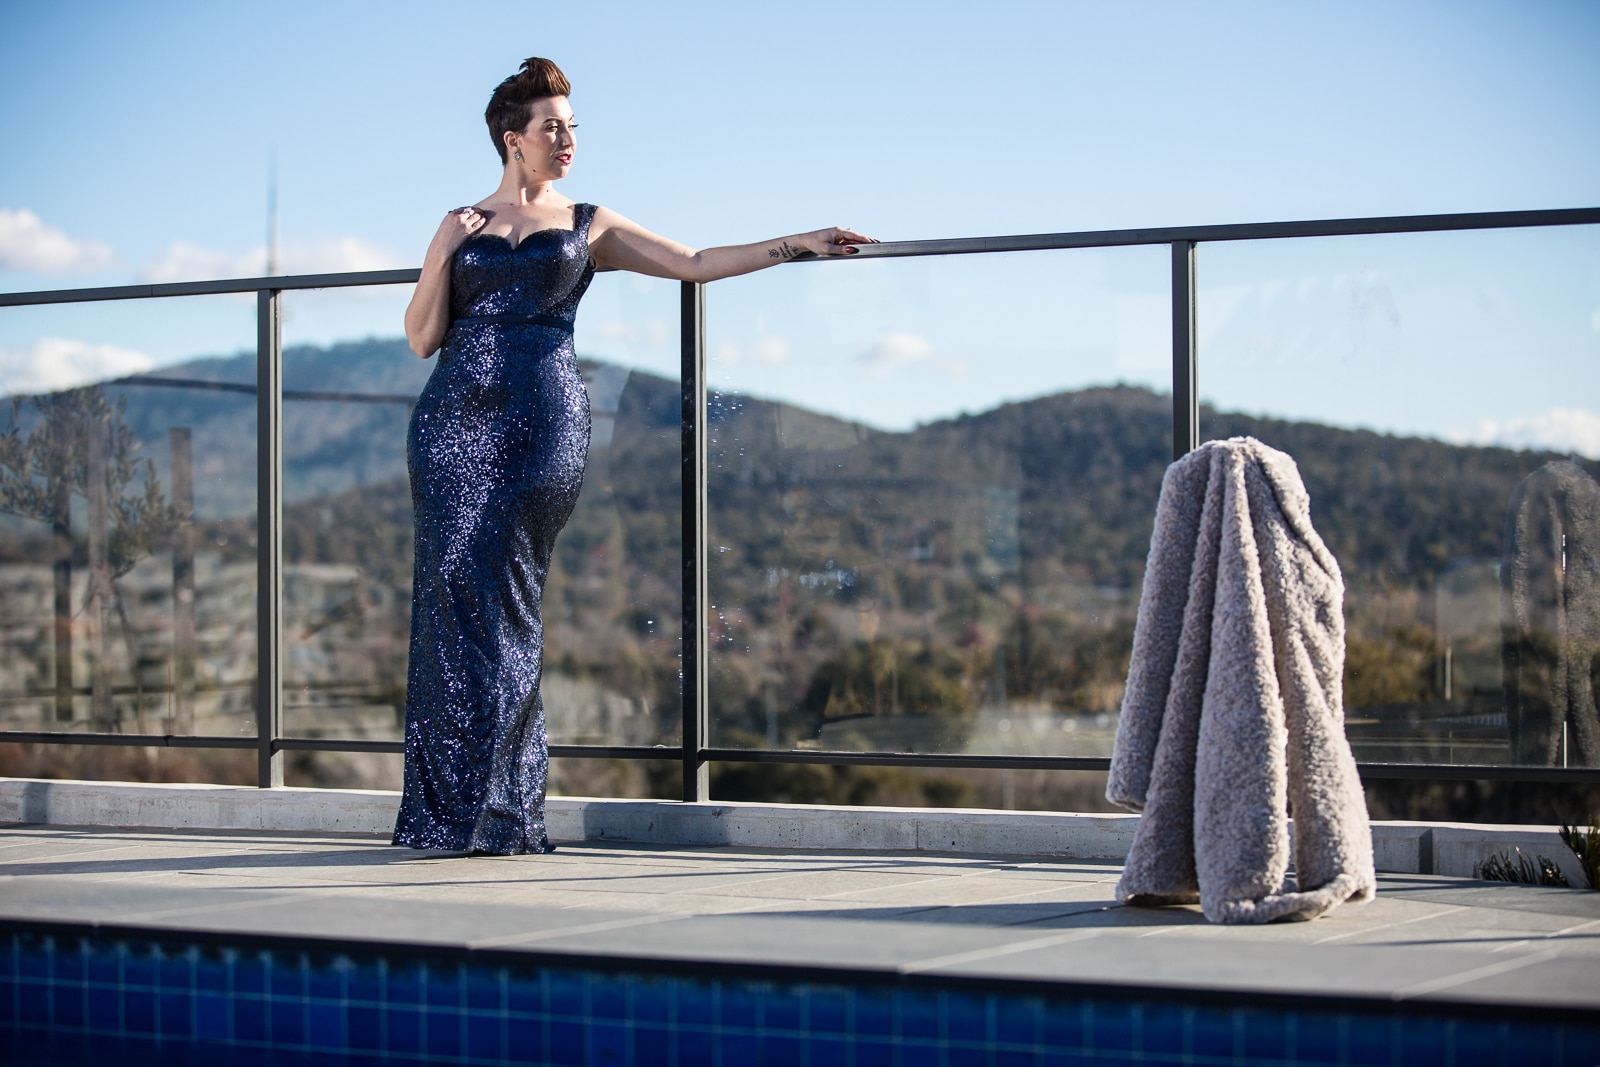
A week or so ago posted a picture of a lady in a blue dress next to a swimming pool and in this post, I wanted to go along give some insight into the background and the behind-the-scenes of making that shot.

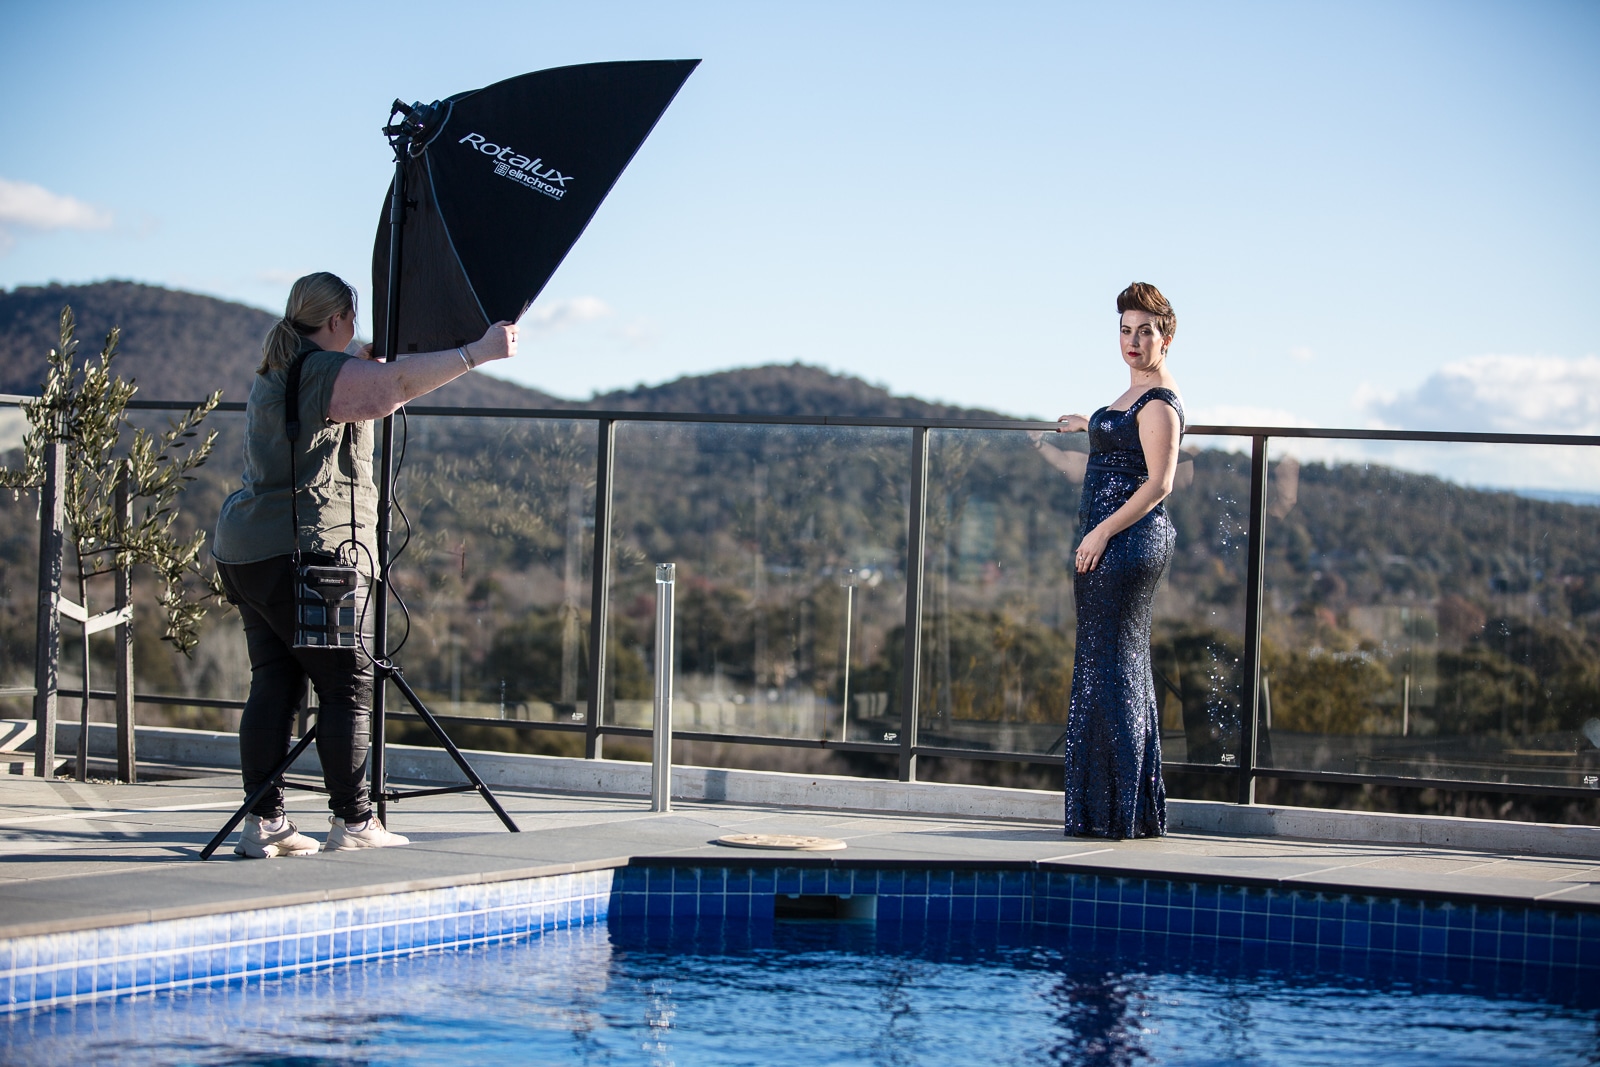
I had with me my Elinchrom Quadra along with my Elinchrom 100 cm x 100 cm softbox hoisted up high on a light stand. Luckily for me, I had an assistant holding the light as the wind was blowing a gale without their assistance there was no way I could use any sort of like fodder modifier like a softbox as a thing was turned into Mary Poppins and flown off the roof.

In the shop below you can see that I had softbox roughly about 3 m away from the model. The placement of the softbox was as close as I can get without having the shot and I did this on purpose to ensure that had soft as possible light. Because of the high winds, I removed both external and internal diffusers as there was a high chance they were going to blow off the roof, and I really didn’t want to go collect them. 🙂

Behind-the-scenes of the pool shoot

As you can see shot was taken in full sun’s on the left side of the model without the artificial lighting that part of her body would have been incomplete shadow and to be honest would have looked like crap, so the only way to get around that is to punch a light into the shadows to reduce the contrast between the left side of her body and the right side that was in the sun.

The light itself is fired by a remote trigger that sits on top of my camera gives me about 70 m range so was able to get back a considerable way and take the shot using a 200 mm lens.

After a little bit of mucking around and getting the exposure right to rest, you could say is history.

Model by the pool
Model by the Pool

Hey Look It’s Friday!

Oh boy what a week.  Covering events and portraits  through the week was fantastic but I must say it is nice to have a night off so I can get to bed before 2am and sleep into at least 6:05 am. lol

Once again the sunset tonight was spectacular and something I will never get sick of I dont think. 🙂

I will be posting a how to on this image tomorrow on my sister site http://www.photographicworkshop.com.au/ so if you are interested in how to take and post process this type of photo have a look see tomorrow.

Until then I hope you have a fantastic night. <3

Thank God It's Friday
Thank God It’s Friday

Photos By the Lake – Beginners Photographic Workshop

Thank you guys for attending my workshop yesterday.  🙂

If you want to see the group picture or want more information about my others workshops get on to my contact page and send me a message as I am sure that I have a workshop that will work for you. 🙂

photographic workshop,
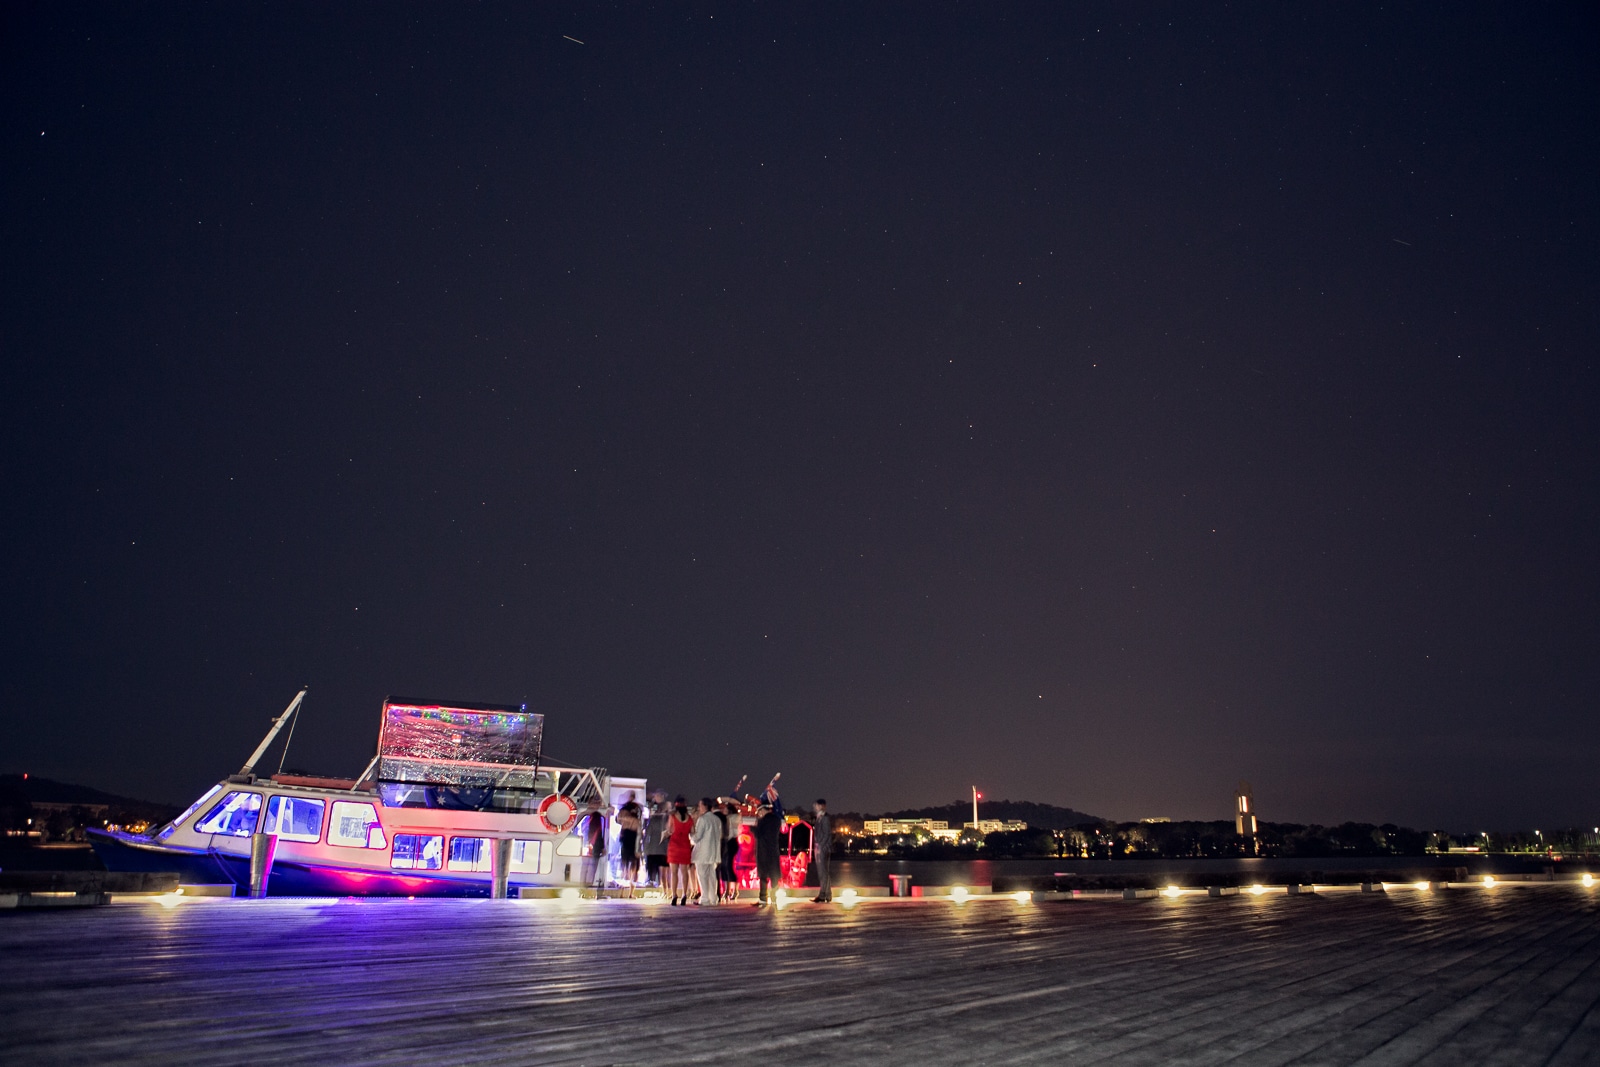
A photo I snapped of a murder mystery party after my Photos By The Lake – Beginners workshop to photography.

What’s the Best Way to Learn Photography?

You probably already knew the answer to that question: there are a million and one ways to learn photography. Everyone has their own learning style, so there is no ‘one size fits all’ formula to plug yourself into and come out a great photographer. Maybe you’re the type who learns best by teaching yourself. Maybe blast through your learning curve when you have formal instruction. Maybe you need some combination of the two – some people do best combining internet learning and peer review together with taking a few workshops here and there.

So let’s hear it from you:

  • what are some your favorite ways to learn?
  • What are some of things about your camera that you haven’t quite mastered yet?
  • Where’s your edge and what’s the next level for you?

If there are enough folks wanting to learn a particular technique or style, we would be more than happy to give a workshop on it. But whatever way you choose to learn there’s one thing that stands true: you’ve got to practice, practice, practice. Get out there and shoot.

“Your first 10 000 photographs are your worst.” – Henri Cartier-Bresson